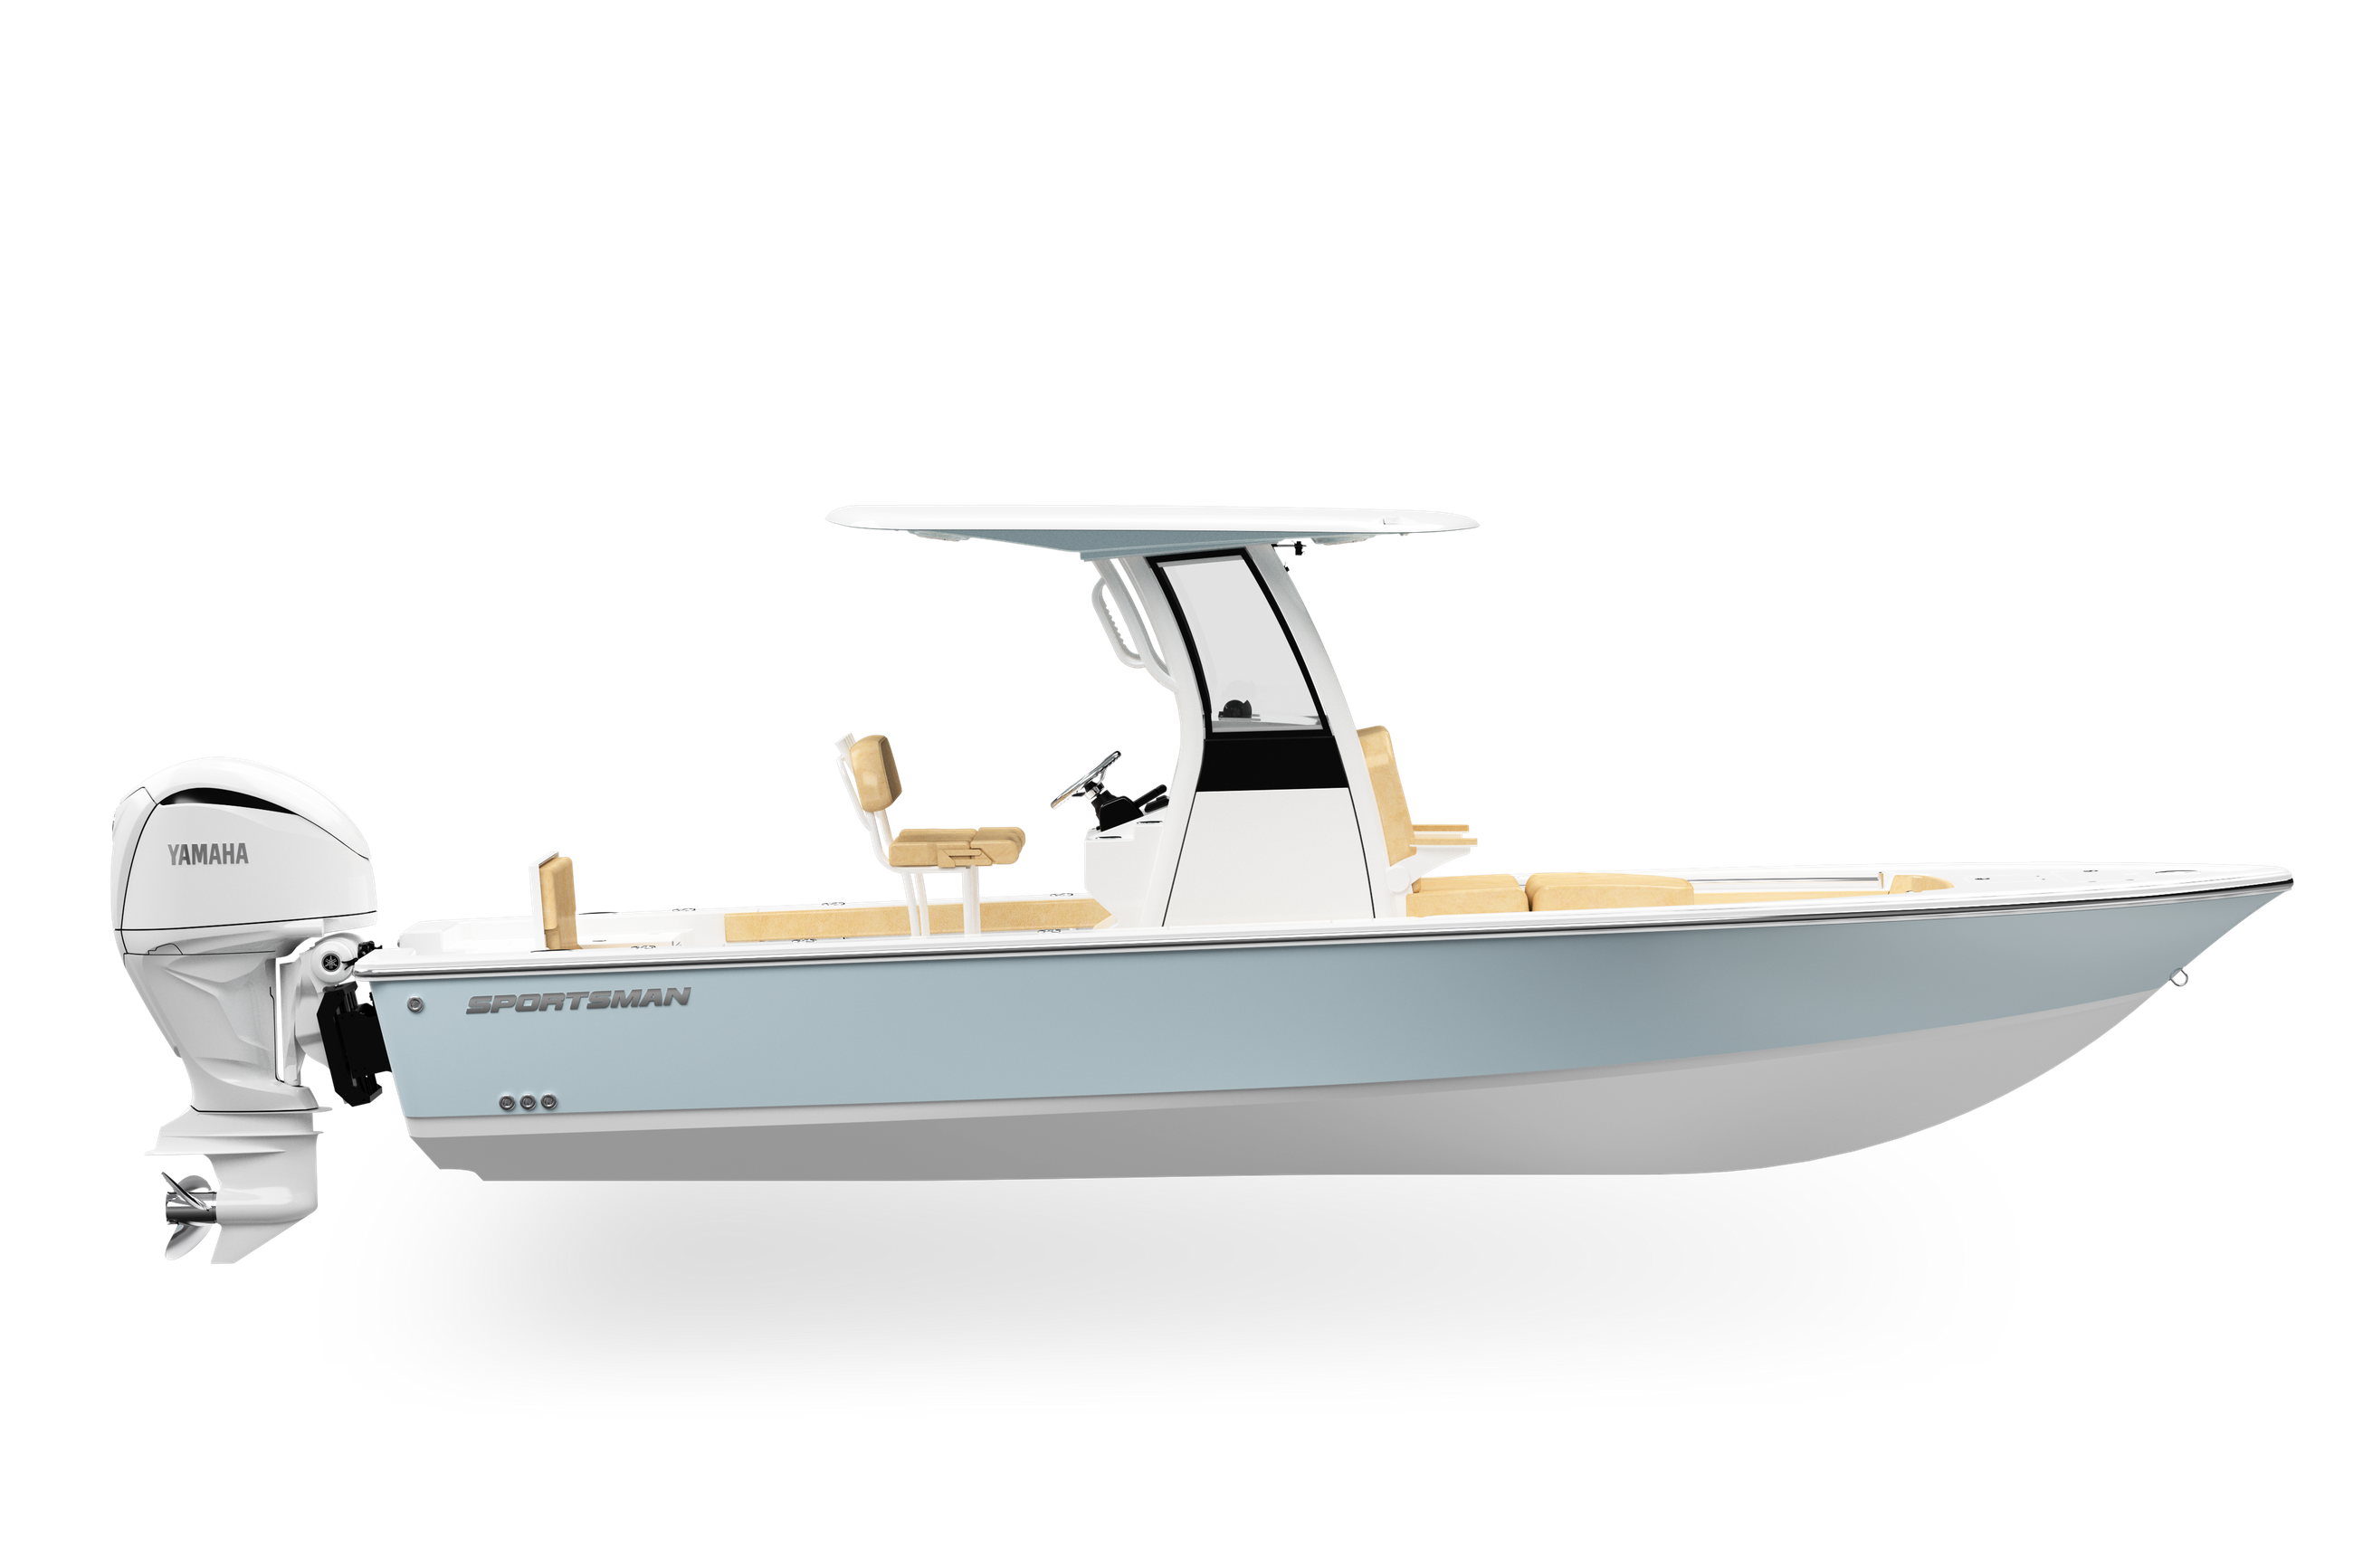
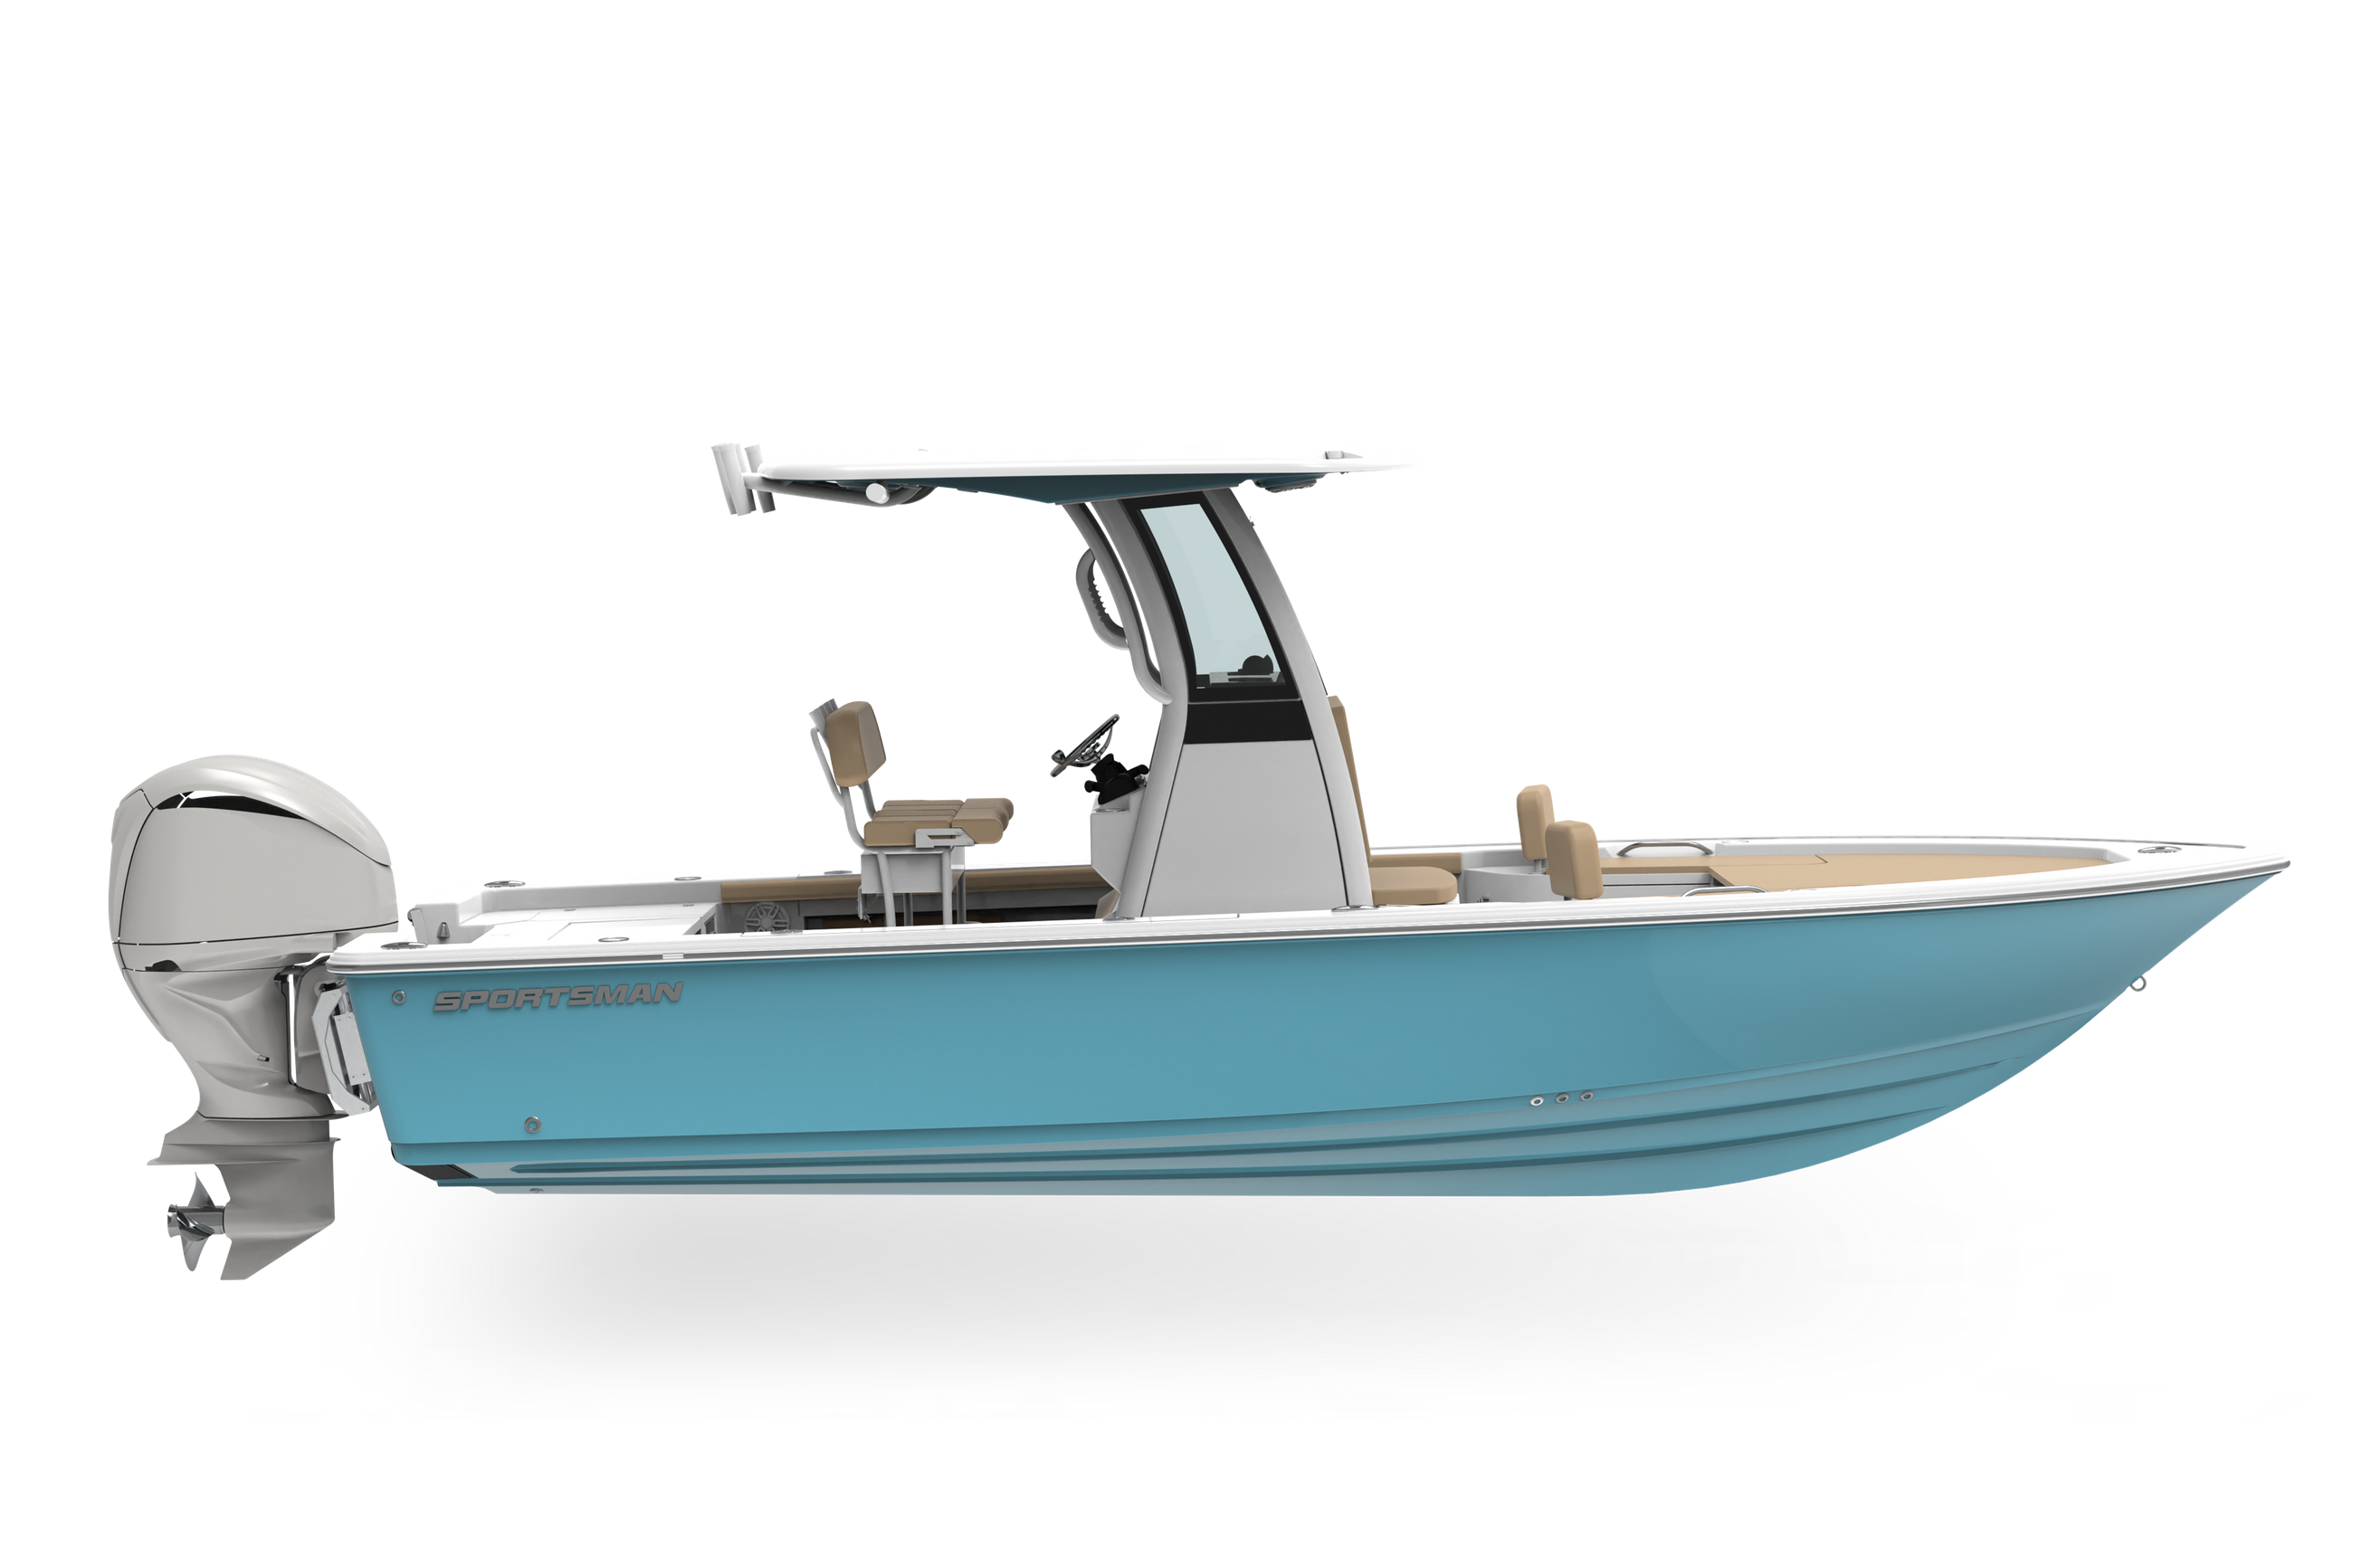
Behind the Glass – S2E07 – 5-Axis Mill and Mold Building
In this episode we are stepping into the hidden room at Sportsman. Until now this building has been closed off and only a few people have been inside. The 5-axis mill is where all of the magic happens when it comes to our new product schedule. This mill is running non-stop to develop the plugs for each and every new model you see each year from Sportsman.
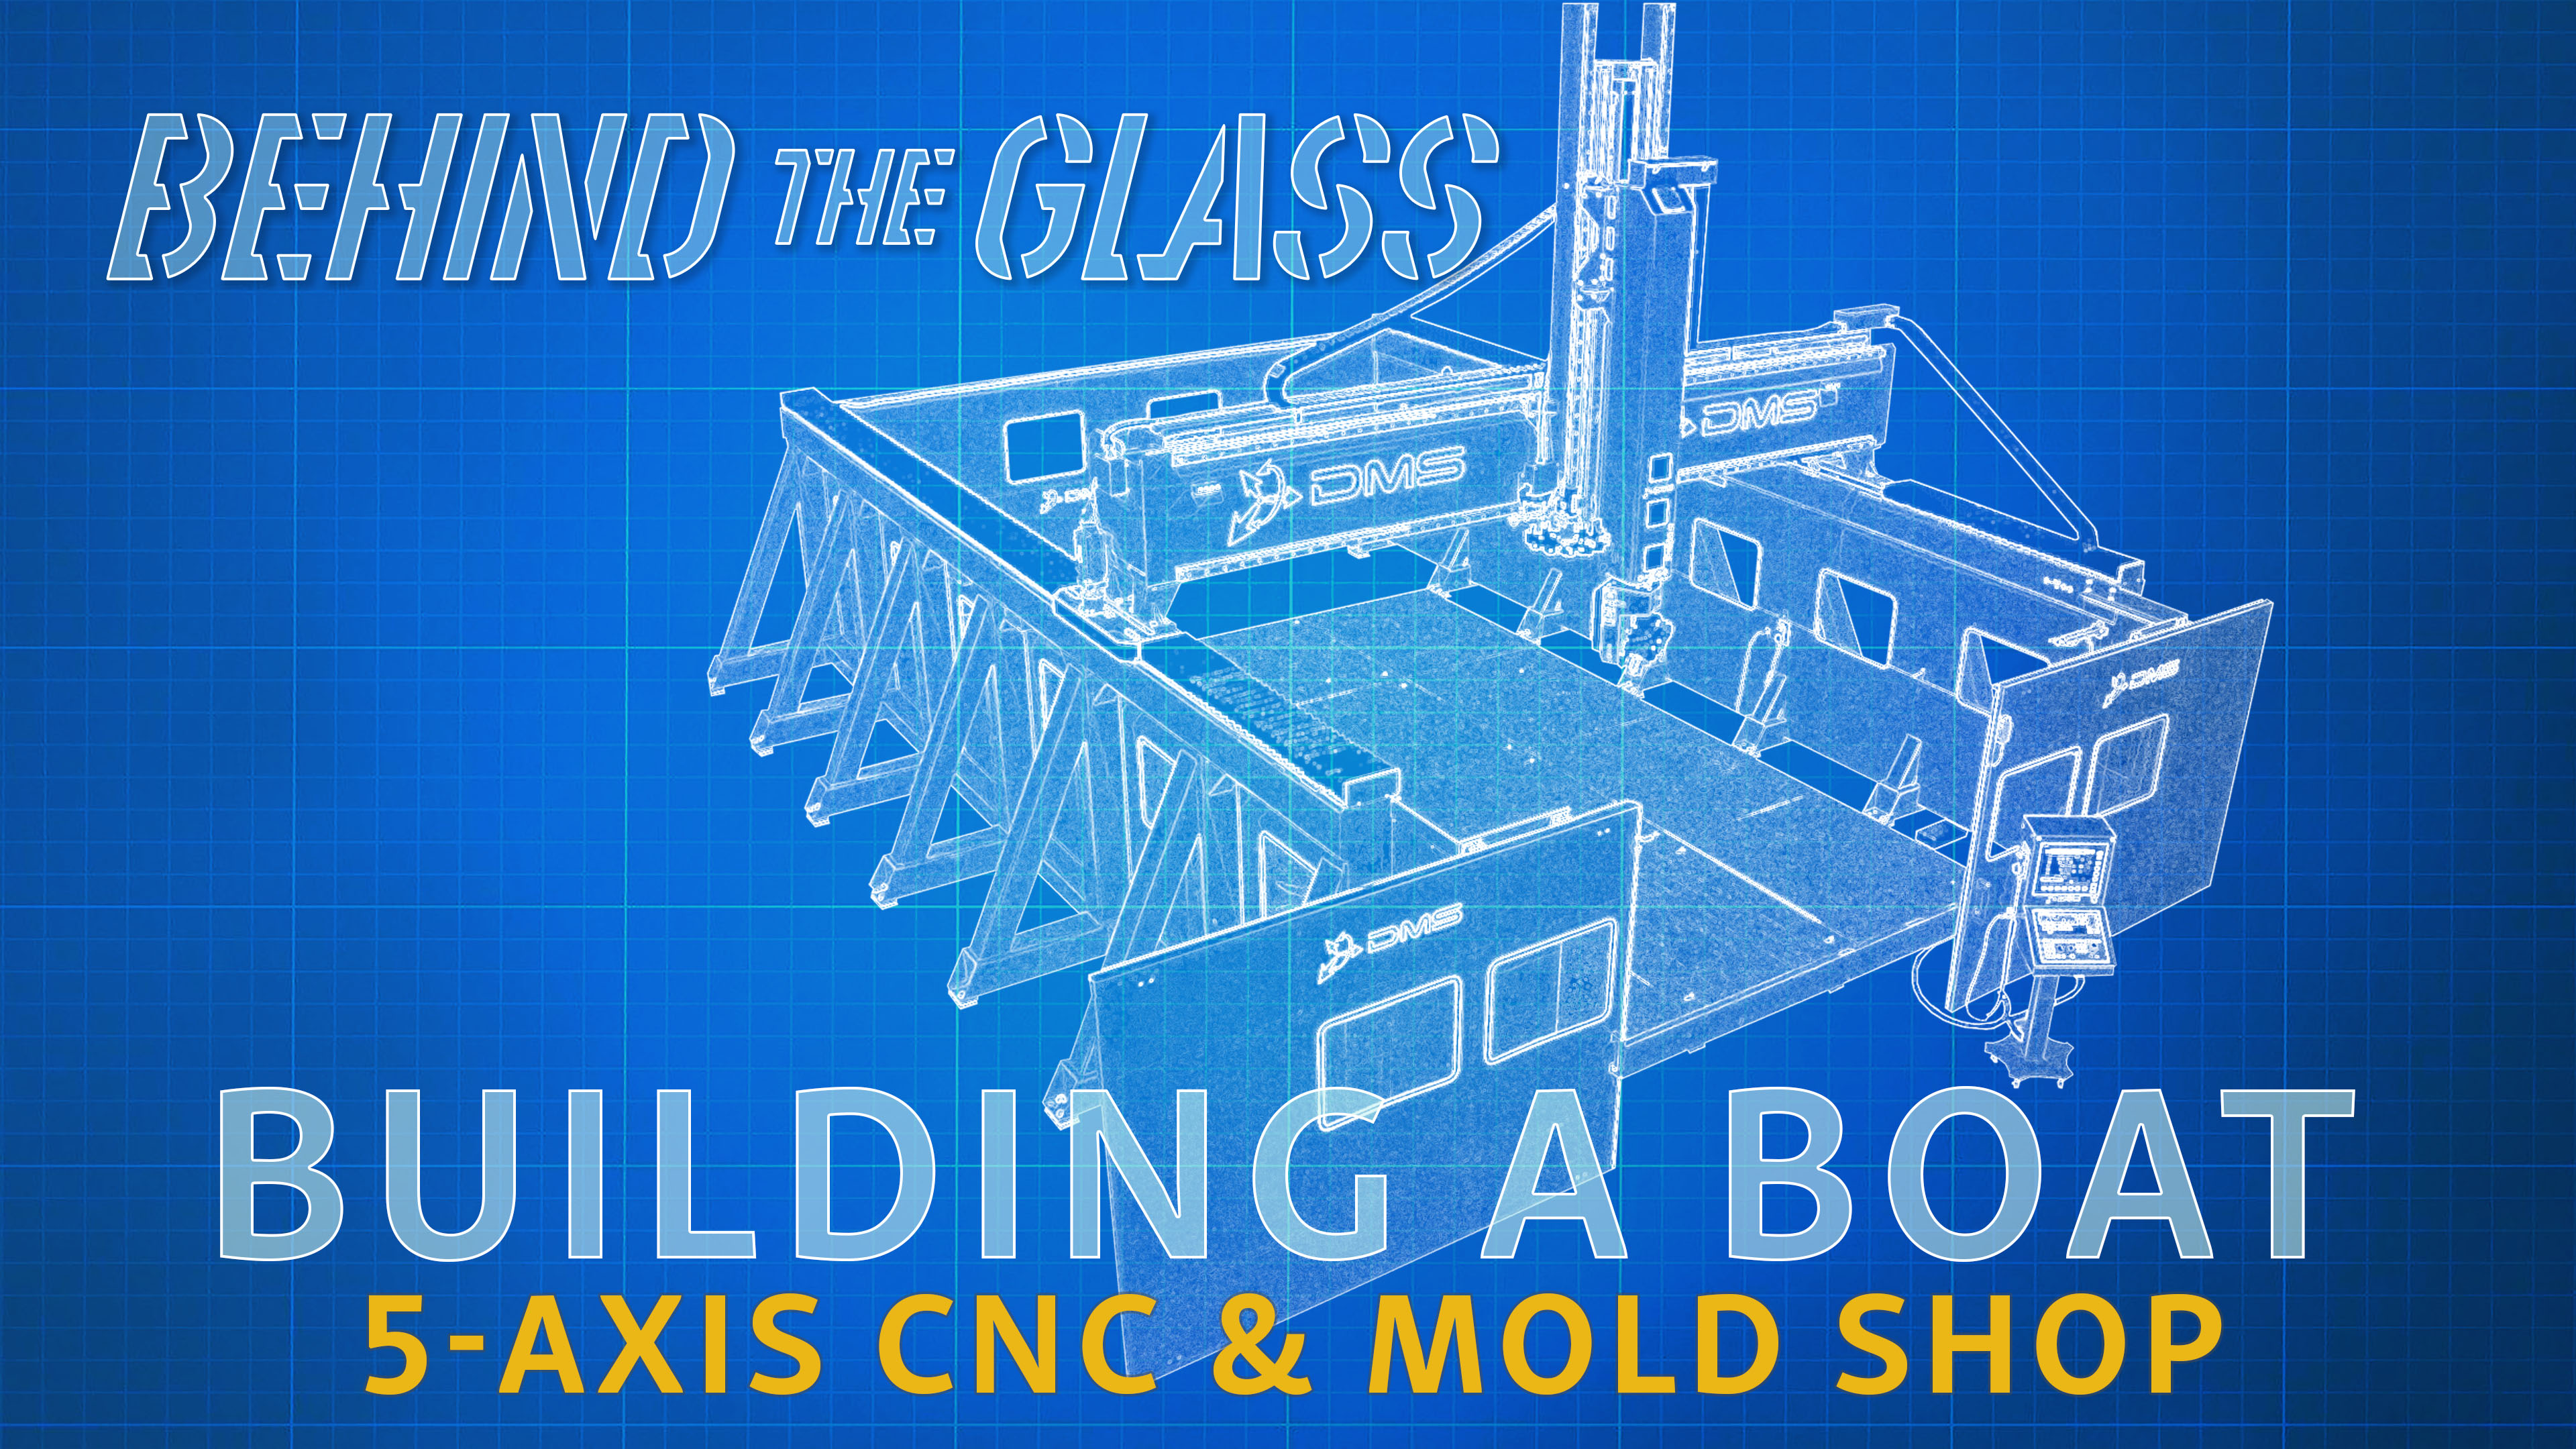
In this series, you've seen us manufacture thousands of fiberglass parts using molds, but the question still remains how are these molds made? Well, stick around as we go Behind the Glass to show.
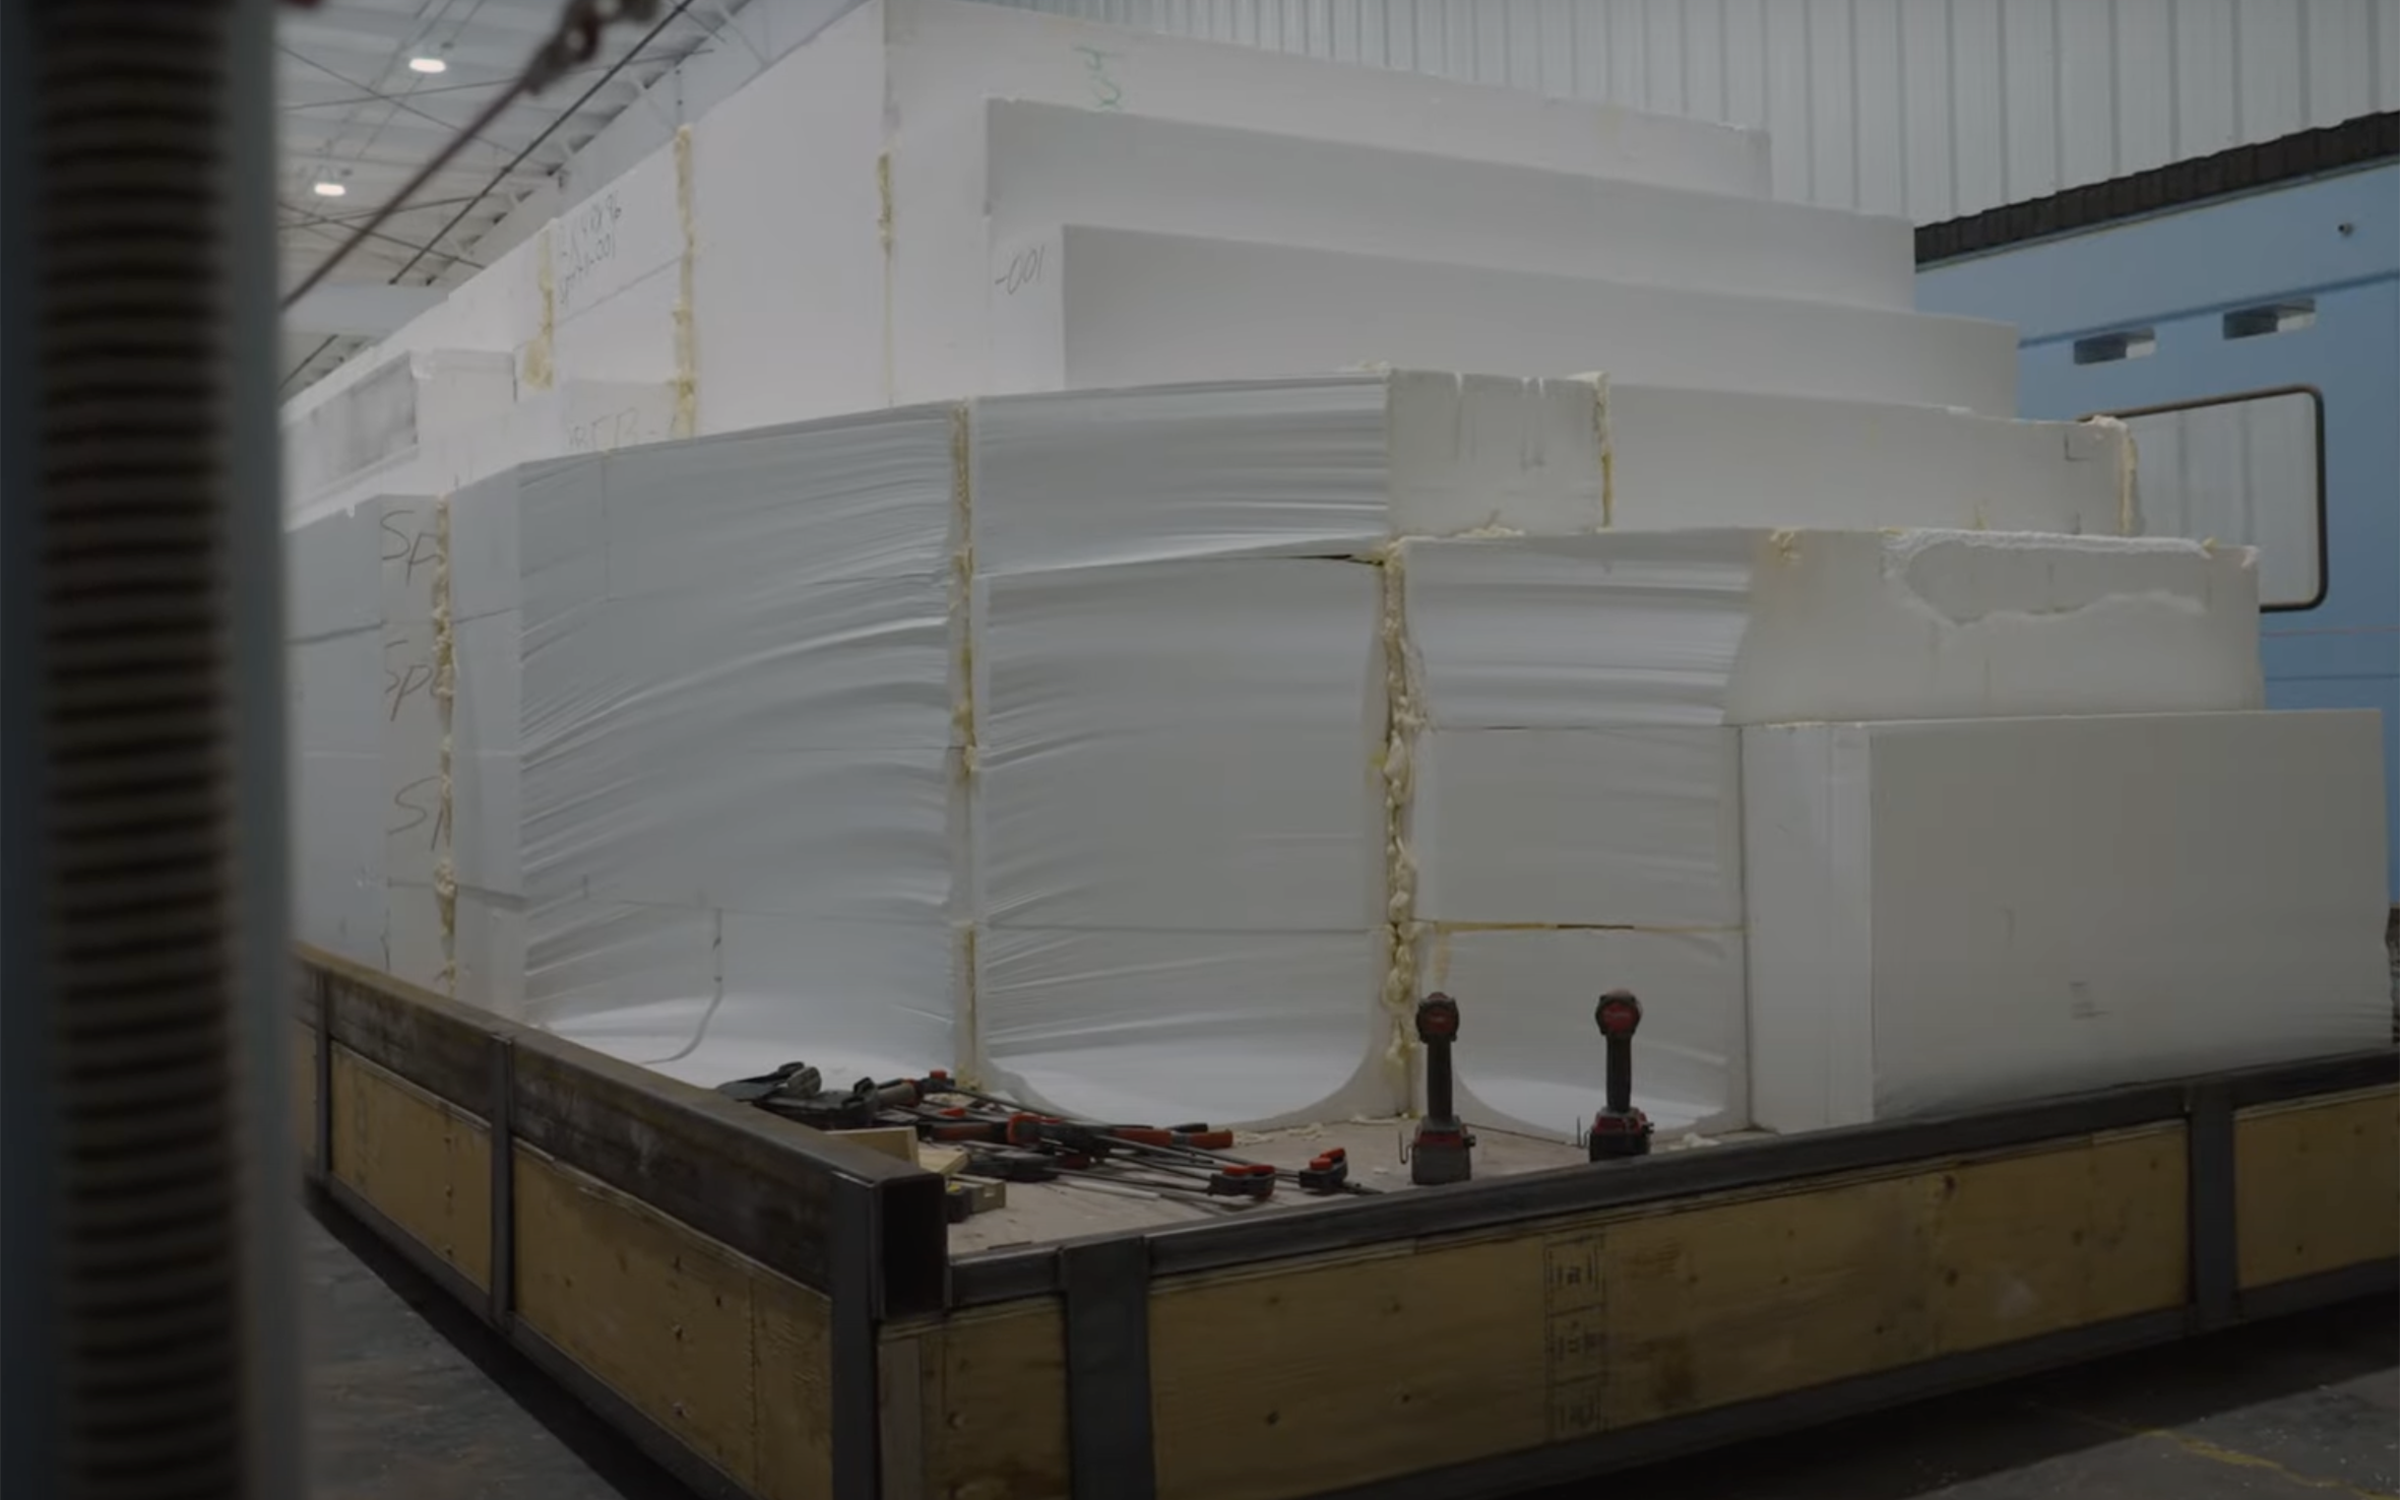
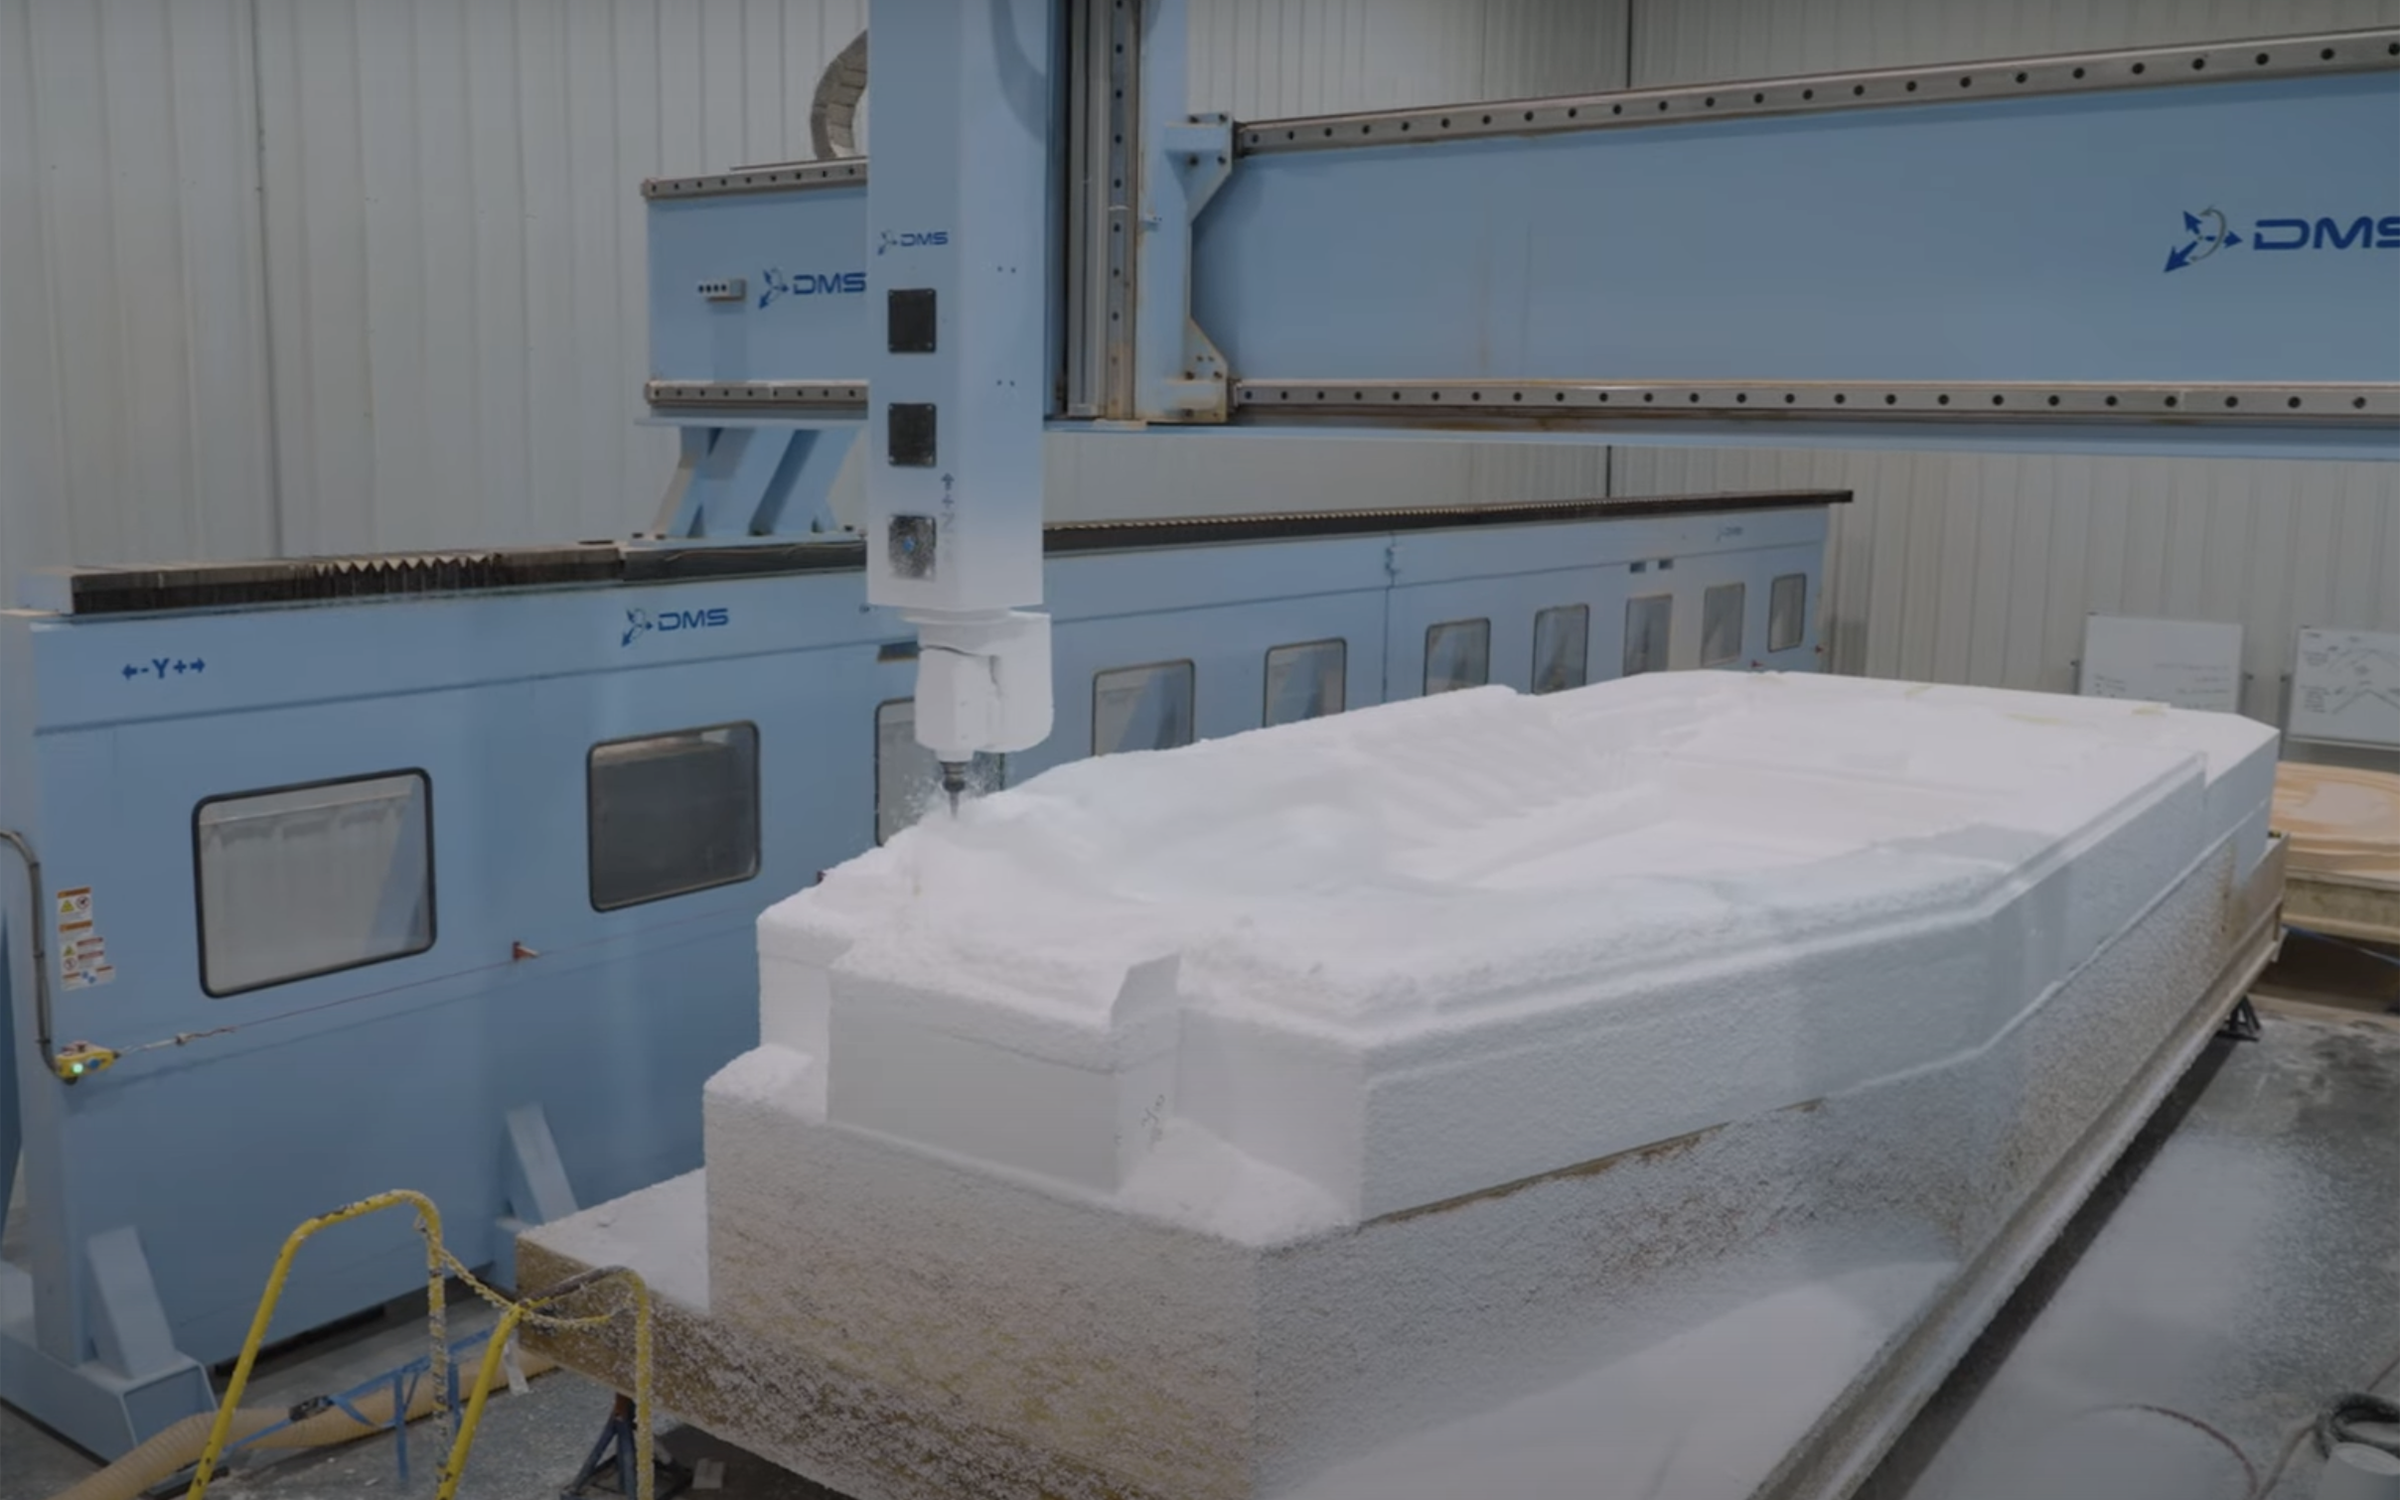
When looking at a mold, you will notice that what you're looking at is the inverse of the finished part. The actual first step for creating a mold is something commonly known as a plug. A plug is a representation of the completed part but made from a highly specialized tooling material tooling is a term used to mean the molds and fixtures used to manufacture a fiberglass part. A tool or mold can be in the lamination rotation for many years with proper care and maintenance they can be repaired and even modified if needed. Let's dive into the construction of a plug it all begins by building a buck. A buck is a substrate structure on wheels that will allow the team to move the part into the different stages of milling and finishing the base of the buck is typically a platform made from wood and slightly larger than the plug. The engineering team designs a foam block structure that encompasses the entire part building the buck completes the prep work. We are now ready to show you one of the coolest operations at Sportsman, the middleweight here at Sportsman. We have an in-house 5-axis router CNC machine.
This machine and other supporting departments mean that we can take a new boat from design to production without stepping outside of our facility. This machine can mill full-sized boat plugs with an accuracy of plus or minus 5 000 of an inch. This incredible position yields highly accurate molds, and unsurpassed quality molds produced from these plugs have improved performance due to the accuracy of the boat haul, superior fitment of parts, and faster design-to-market turnaround. A five-axis router is a complex machine that can move in five different directions. It's composed of a horizontal gantry, a bar that goes across the top, and two supporting walls. The machine can slide forward and back on these walls while the router sits on a boom arm mounted on the gantry. The arm can move left, right up, and down on the track the other two axes are rotational. The head can rotate on the x plane and the y plane, allowing for a super smooth finish on contoured shapes like the edge of a hard top. The milling operation begins with a very rough cut on top.
At this stage, it's all about bulk-removing the excess material and achieving the general shape of the final plug. These initial passes are slightly smaller than the final part, and this is to allow additional layers of materials that are stronger and will achieve accurate final dimensions. Once complete, the team will add a layer of fiberglass to lock the foam structure and give it the additional support it will need so next comes a layer of a highly specialized epoxy-based modeling paste. This material is specifically designed for dimensional accuracy and stability, meaning it won't shrink or contract once the milling is complete.
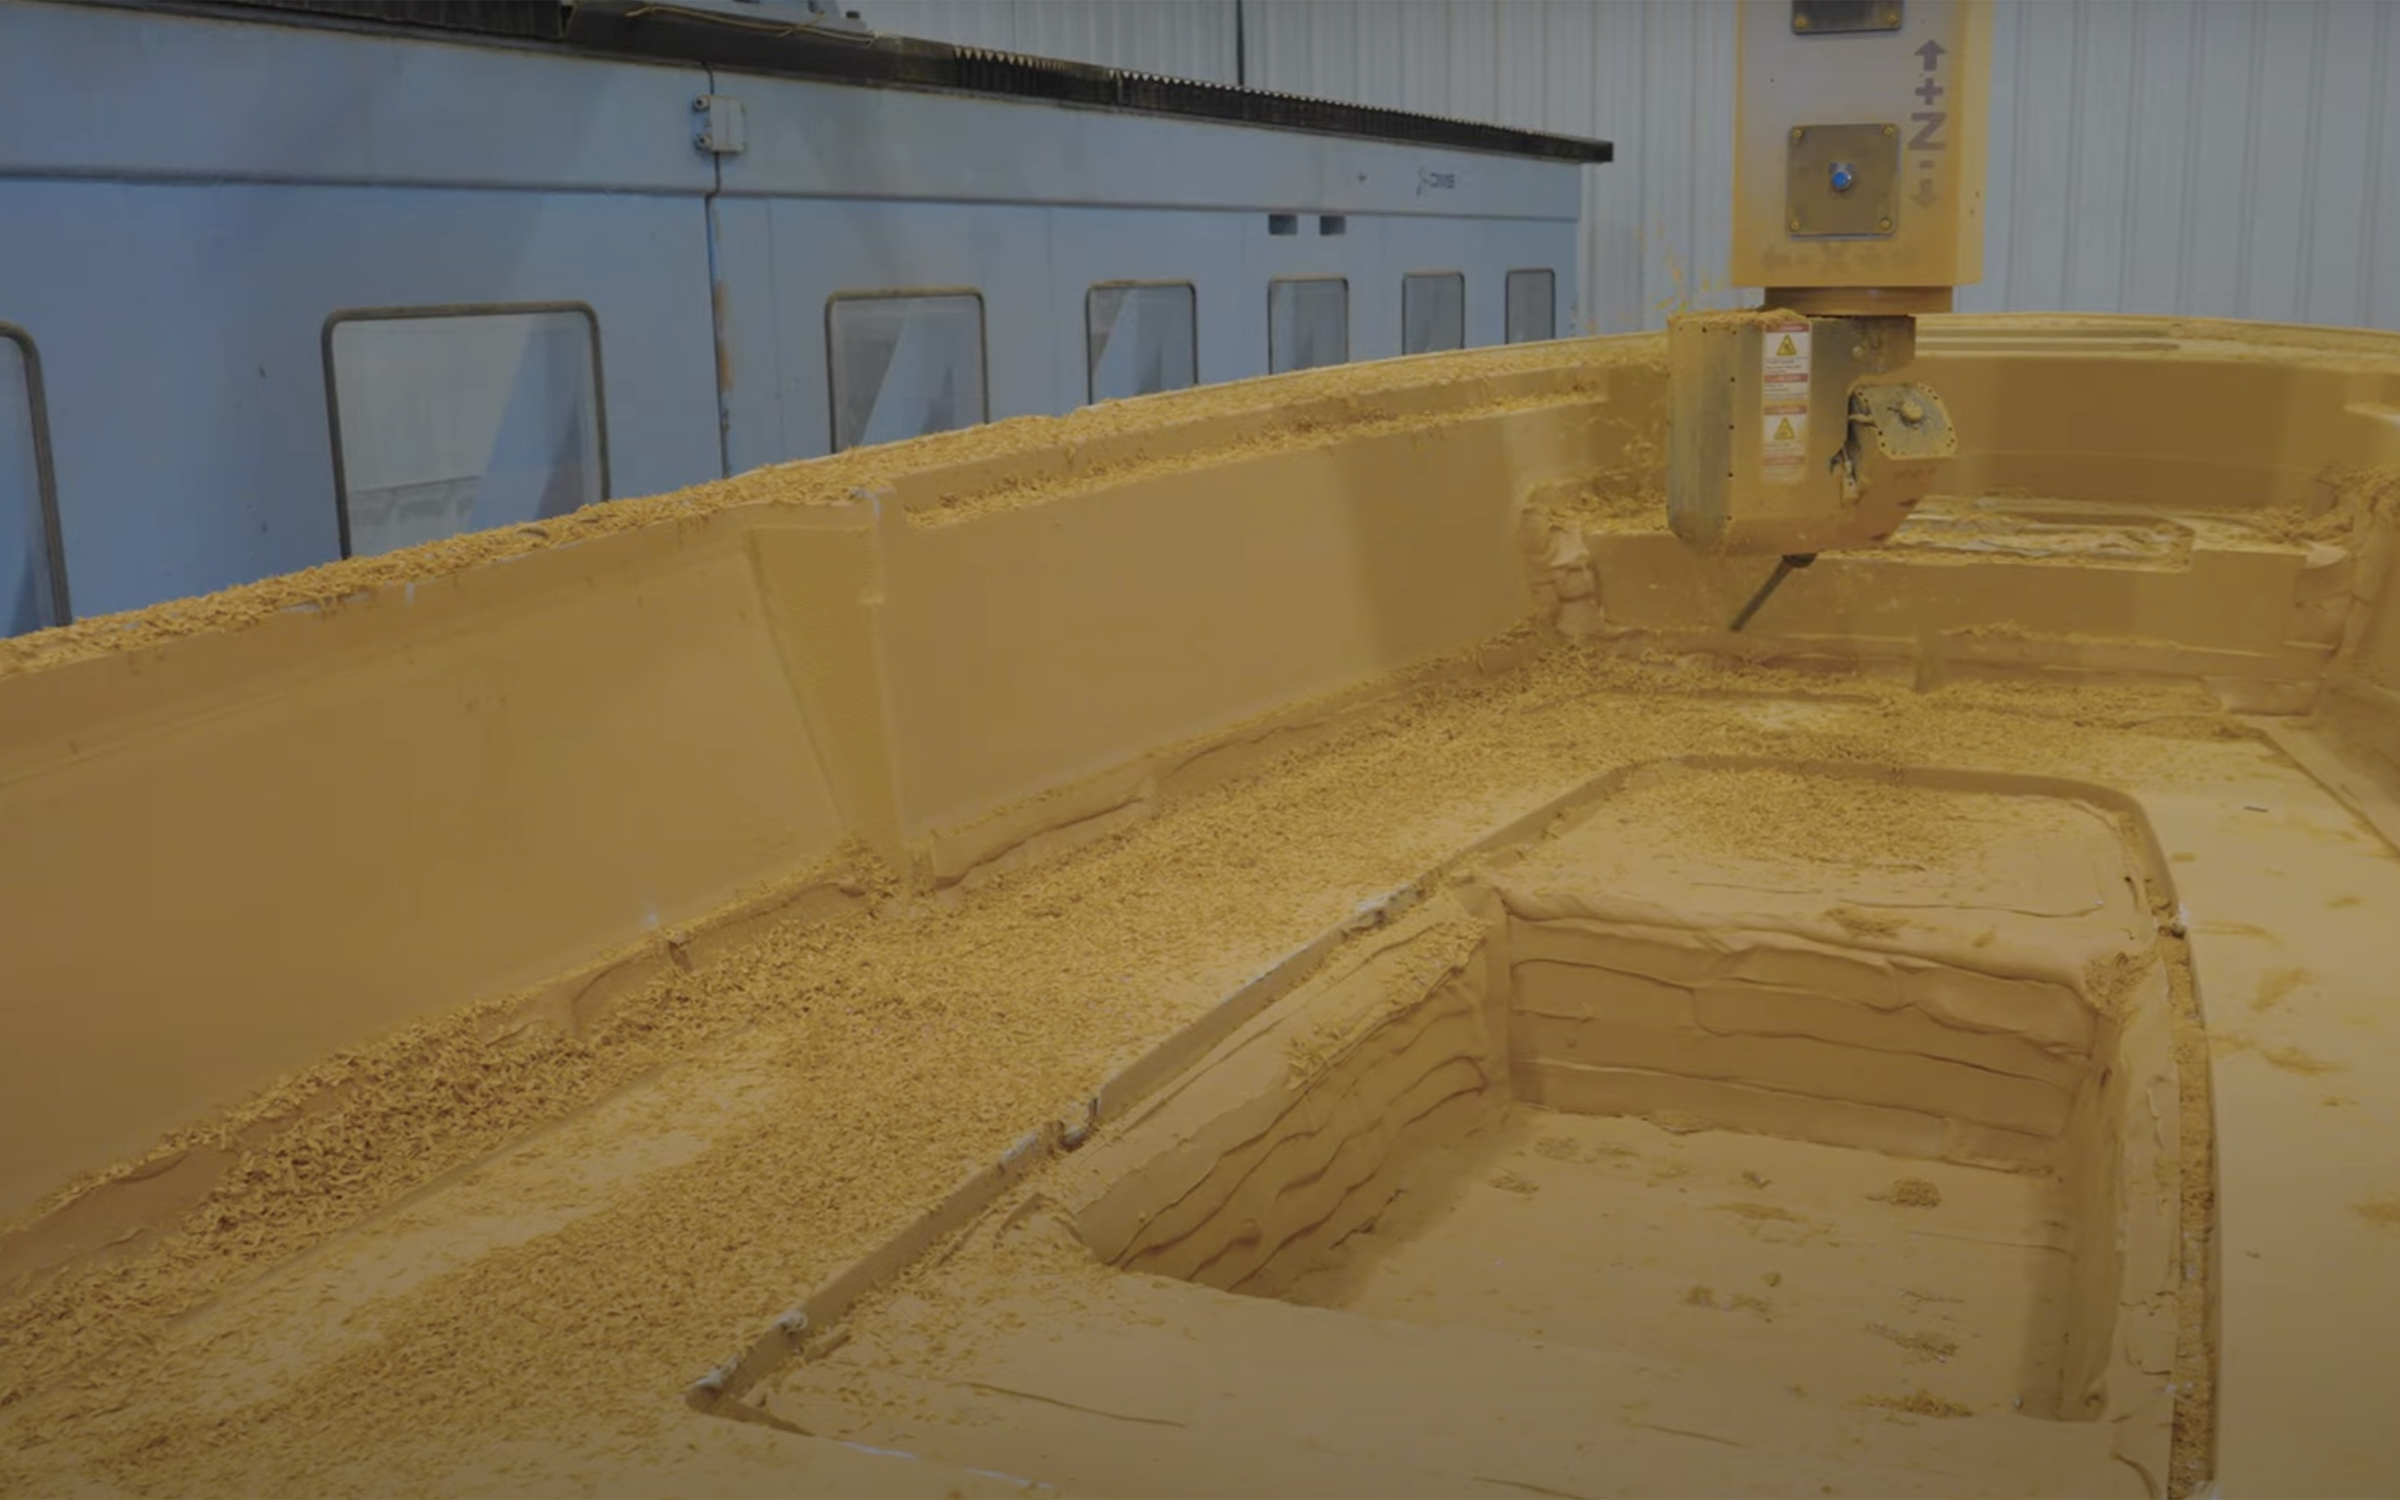
The team member uses a special mixing machine to apply a thick material layer on the entire part. The part will cure and be ready to mill in 24 hours. It's time to continue milling the plug with the router. This encompasses a series of steps to achieve a smooth and consistent surface. The mill operator has programmed an initial roughing pass that will smooth down any large chunks. This process is similar to the roughing pass we saw on foam, but this time it has a smaller step overs a step over is the distance of the cutting tool between passes a smaller step over achieves a smoother surface but drastically increases the time it takes the machine to complete one pass the key here is to not remove too much material at once as this can cause chips and damage the operator will continue to decrease the step overs on each pass until what is left is a smooth and even surface ready for the next process.
The mill does an incredible job at achieving a smooth surface, but it's far from ready we need it to be absolutely flawless, and for that, we require the expert hands of a craftsman and many, many, many hours of labor. The plug has now been moved to a different area of the plant. Dedicated and highly specialized artisans work tirelessly to complete all the plugs we make in-house. The team will sand the plug, starting with a medium course and working their way up to finer grits So once satisfied with the smoothness, a layer of primer is added, and the sanding continues.
To help in finding even the most minor of imperfections, they will apply a layer of guide coat over the primer. This coat provides a visual guide to finding low spots, scratches, and many other small imperfections unseen by the naked eye. The process of sanding and smoothing everything out will go on for days and sometimes even weeks, depending on the size of the part. You're watching artisans crafting every surface to perfection because even the slightest of imperfections will show up in the finished product. The final step is to clean off any remaining sanding dust and wipe the entire plug down. The plug will then receive several layers of release agent a wax to ensure that the plug doesn't stick in the next step.
The prep process is finally complete, and we can move on to making the mold. Surprisingly enough, making a mold is similar to building a regular fiberglass part, and it all begins with a layer of gel coat. The gel coat you are seeing is brightly colored, and it's called tooling gel. The bright colors help to identify a bare mold once complete.
Tooling gel is specially formulated to excel in three areas dimensional stability meaning that it won't expand or contract hardness. This is necessary to withstand the hundreds of pools the tool will be exposed to over the years and its ability to be polished as normal wear and tear take place. These molds will be wet sanded and buffed many times to restore the flawless surface. The tooling gel has been applied, so now it needs some structure. This is achieved by applying fiberglass to an engineered spec. This fiberglass will ensure that the mold holds its shape.
Once complete, a steel cage will be built around the mold. This will add additional strength and attachment points for the mold cart. The steel cage will then get tabbed with fiberglass to adhere the two parts together. It's time to reveal the completed mold. The plug and mold are moved under a hoist, where they will be separated. This delicate process takes time, but the team does easy work out of it. The new mold is complete, but it's not quite ready for prime time just yet. The surface will need to be further polished to a shine before this mold goes into circulation. After a final inspection, this mold is classified as production-ready.
You've gotten to see a part of boat building during this episode that is not often talked about, but this high level of vertical integration is what allows us to keep up with our demanding new products schedule, delivering top-quality boats every year packed with innovative modern technology and top-notch amenities join us in our next episode of Behind the Glass for an inside look at some of the tools and techniques we use to manufacture our boats.
Techniques used in this episode are part of our SportTech® Advanced Fabrication Process. This process is part of our SportTech® Advanced Fabrication Process. This proprietary combination of processes and materials yields the best result each step of the way and has been thoroughly tested for durability, longevity, and finish. All Sportsman Boats features a 100% composite construction with zero wood.
